
Receiving Without a PO
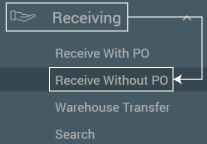
- In the Receiving tab, select “Receive Without PO“.
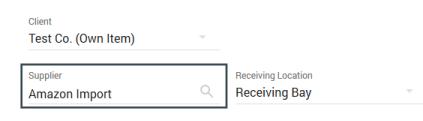
- Search for Supplier Name if one is not automatically populated. (NOTE: A supplier must be selected even if receiving without a PO). Enter any notes or a Receipt number as well if needed and click Next to move to item entry.
- Select “Add New Item” to begin manually entering items. (Alternately, you can enable the “Enable One to One Scanning” and begin scanning with a barcode scanner if your account is configured for this functionality.
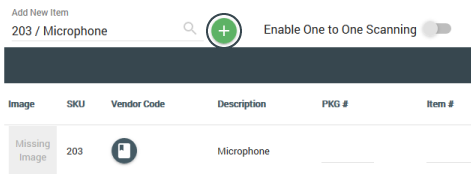
- Enter in other item fields if needed, but delivered quantity is required and click the Disk icon to save.
- Click “Next” to move to confirmation step.
- Review and select “Accept Delivery” to complete receiving. Select OK in pop-up message and PDF receipt will generate.