NOTE: This integration is no longer supported. Please check out our integration to QuickBooks Online instead!
Integration Functionality (updated 1/16/19)
Prerequisites:
Create a backup copy of your company file before proceeding. It is recommended to test and understand the integration’s functionality using an Allocadence sandbox account and a copy of your company QuickBooks file before connecting to your live environments. Contact the Support Team if you need a sandbox account for testing purposes.Install QuickBooks Web Connector (QBWC): If you haven’t yet, first download and install QBWC to the PC or server hosting your QuickBooks installation. It is required for the integration to function. Be sure to select the correct version of QBWC for your version of QuickBooks.Version: Built & tested for QuickBooks Enterprise 2017, but should function well for any desktop versions that use the QuickBooks Web Connector for data exchange and support multiple Units of Measure (UOM). Does not work for Pro, some versions of Premier, or QuickBooks Online. You can confirm that your version supports multiple Units of Measure by viewing the list here.Enable UOM (U/M) in QuickBooksNote* 3PL environments are not yet supported for this integration. There is no functionality for multi-client inventories or 3PL charges via the QuickBooks integration at this time.
Synchronized between Allocadence & QuickBooks (2-way sync):
CustomersVendors (Suppliers)Products (Items)Purchase OrdersSales Orders (Customer Orders)Units of Measure (UOM)
Updated from Allocadence to QuickBooks:
Inventory stock levelsShipping OrdersItem Receipts
Configuring the integration
With QBWC installed, follow these steps below:
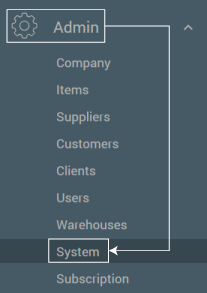
First, navigate to the ‘Admin‘ tab and select ‘System‘.
From the sub-menu in the upper left, select ‘Integration’, and click ‘Accounting’. From here, click “Add Accounting System”.

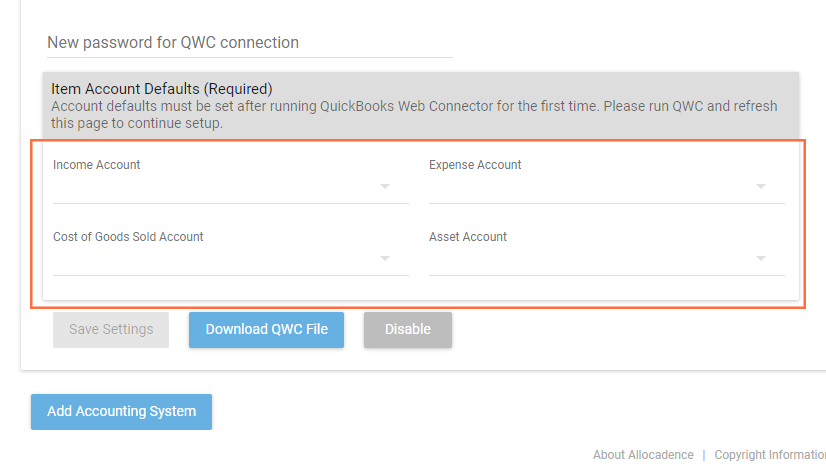
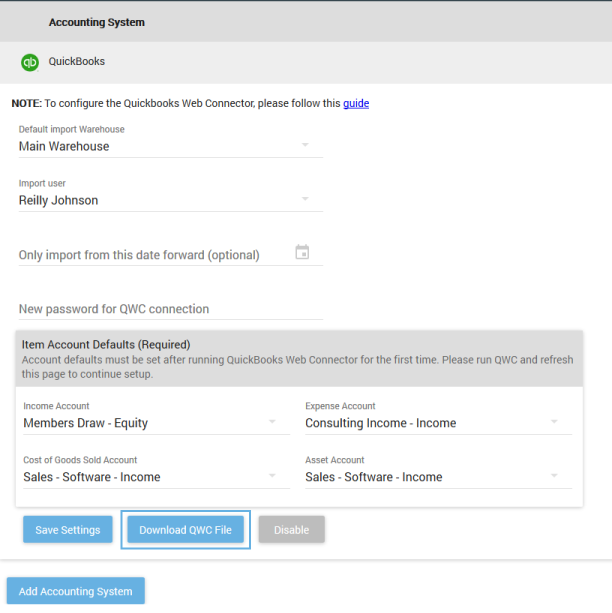
Choose a default warehouse, default user account for logging integration activity, choose a password for the integration, and set the earliest date for data you want to import from QuickBooks. Leave “Item Account Defaults” blank for now; you’ll select those later in the process.Open QuickBooks Pro and open your company file. Click on “Download QWC File” and save this file to your hard drive in a place where you can find it easily.
Open the QuickBooks Web Connector and click on “Add an Application” button and select the downloaded .QWC file.
Once added, an “Authorize New Web Service” window will open in QuickBooks. Select the option for “Yes, always; allow access even if QuickBooks is not running” and click OK.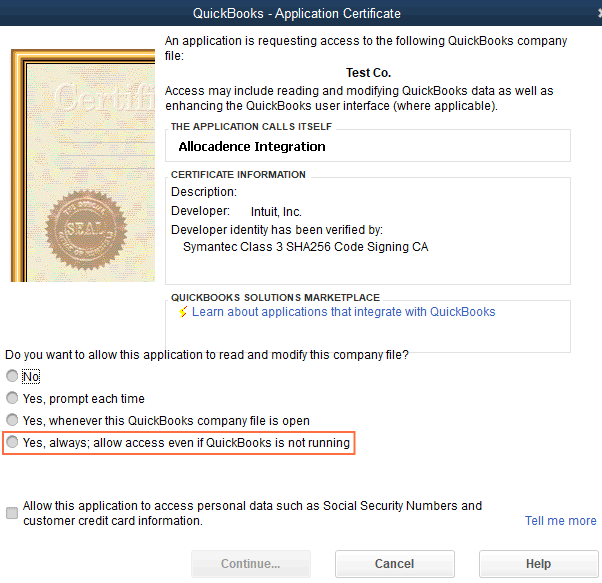
Back in QuickBooks Web Connector, you should see the “Allocadence Integration” application in the list.In the “Password” field, enter the password you set in step 6, and click OK.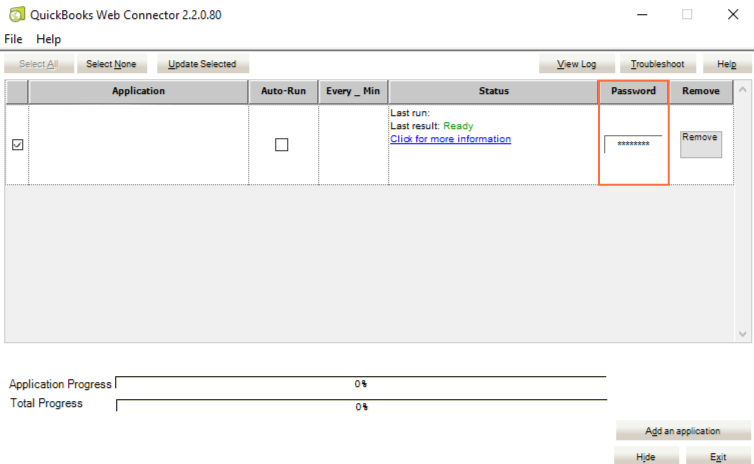
The QuickBooks Web Connector will sync every hour by default (you may change this setting in Web Connector). To initialize the integration, select the check-box on the far left of “Allocadence Integration” and click the ‘Update selected‘ button. You can also click this button if you added a new record and need it to update to Allocadence right away.After successfully running the Web Connector, return to the Allocadence integration setup page to set your Item Account Defaults appropriately. This determines which accounts are used by QuickBooks for the items affected by our integration.