
Prerequisites:
- All Shopify products must have a unique SKU assigned (including variants). If some of your products are missing a SKU in Shopify, you can add them easily using the Bulk Editor described in this article. Inventory synchronization will fail for any item missing a SKU in Shopify.
- All Shopify products must be marked as available and the option to track inventory in Shopify must be enabled. Inventory synchronization will fail for any product where these two settings are disabled in Shopify.
Shopify Integration Functionality (updated 4/2/19)
- Pulls initial items and quantities from Shopify into Allocadence (unless a matching SKU already exists)
- Pulls new orders from Shopify into Allocadence
- Pushes updated inventory stock levels from Allocadence to Shopify for matching SKUs
- Pushes order status update when completed, shipped, or canceled from Allocadence to Shopify
- Pushes shipment data from Allocadence to Shopify
Update interval (maximums):
- All actions: 15 minutes
Configuring the integration
To begin the integration process, you must have a Shopify subscription active.
- Start by logging in to your Shopify store.
- Navigate to the apps page on the left hand menu.

- Click on “Manage private apps” at the bottom of the page.

- Click “Create a new private app”.

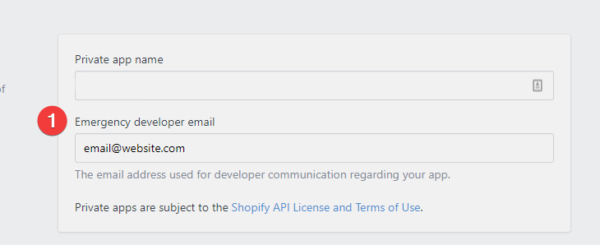
- Set a name for your private app that makes it easy to identify, along with any email address.
- Set the permissions as follows:
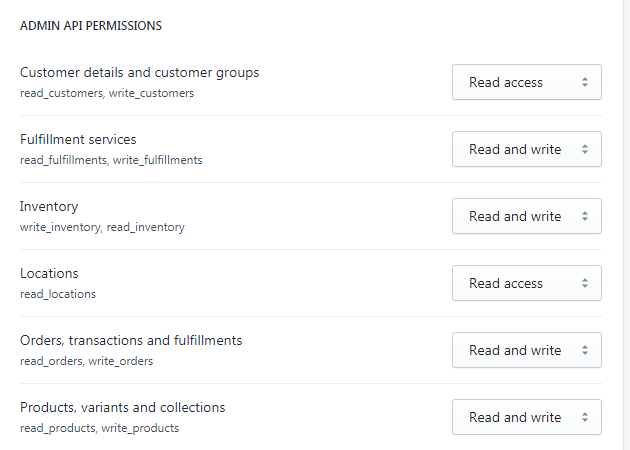
- All other permissions should be set to “No access”.
- Click “save” at the bottom of the page and you will be provided an API Key and Password.

- Next, log in to your Allocadence account and navigate to Admin -> System > Integration.
- While under the “Marketplace” tab, click the “Add Marketplace” button, select “Shopify”, then “Add”.
- You will see a prompt to open the install guide. Simply click this link, and then you can close the new window/tab if you already have the guide open.
- All fields necessary for initializing the Shopify integration will be displayed:
- Shop – This is the first part of your Shopify app URL; it may differ from your actual Shopify store name. See highlighted example below, in this case you’d use “app-test-store” for Shop (without the quotes).

- API Key – This can be obtained from the private apps page in Shopify. Refer to step 6 for more info.
- Client – For 3PL providers, this will link the store to a specific 3PL client in Allocadence.
- Shop Name – This will be used to identify your shop name locally within Allocadence and can be different from Shop (optional).
- API Password – This can be found on the private apps page in Shopify. Refer to page 7 for more info.
- Warehouse – This will be the default warehouse used for inventory allocations for orders from this channel.
- Integration settings:
- Synchronize Items – Only enable this if you want Allocadence to push changes to item attributes made in Allocadence (other than stock levels) back to Shopify. Most users will leave this disabled.
- Update Stock Levels Only – If enabled, only stock levels will be updated from Allocadence to Shopify. No order updates, shipment information, or new order data will be passed.
- Do Not Update Stock Levels – If enabled, only orders, order status updates, and shipment information will pass from Allocadence to Shopify. Allocadence will not pass stock level updates to Shopify with this enabled.
- Importing User – This will be the user associated with imported data, any user can be selected for this. NOTE: If no importing user is selected, no automatic imports will take place (you’ll have to run them manually from the Actions menu).
- Shop – This is the first part of your Shopify app URL; it may differ from your actual Shopify store name. See highlighted example below, in this case you’d use “app-test-store” for Shop (without the quotes).
- Once you have filled in all the integration information, click “Save” then “Initialize”. This will activate your integration and begin transferring data between Allocadence and Shopify. Once initialization is complete, you are finished with the setup process.