Warehouse transfers are used to ship items between warehouses. If you’re looking for sub-location transfers instead (moving from “Point A” to “Point B” inside a particular warehouse), see this article.
To begin a warehouse transfer:
- Navigate to the “Inventory” tab and Select “Warehouse Transfer“.
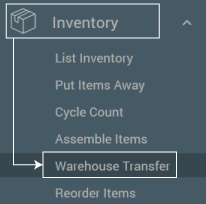
- Select the Warehouse the transfer is coming from and click “New Order”..

Sending stock to another Warehouse
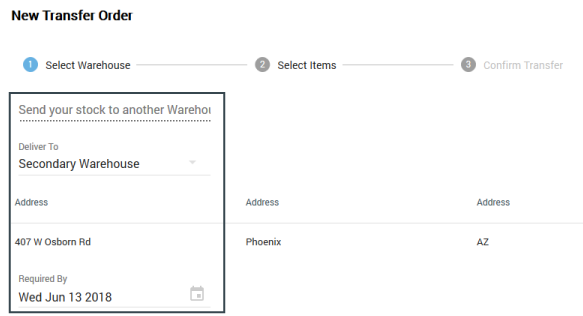
- Select “Send your Stock to another Warehouse” from “Select Transfer Type” drop down. Select your warehouse you want delivered to as well as the “Required By” date. Click “Next“.
- Select “Add New Items” by typing in a SKU or Description to activate the search list. Note: This will save progress on warehouse transfer and a transfer order number will be assigned. After, add the quantity to the item you’ve added.

- Save item using the disk icon to the right of the item and click “Next” to move to the confirmation page.
- Select the Carrier, Service, and any notes you need to provide then click “Finalize and Print”. The transfer order receipt will generate as a PDF, and the order moves to “Open Transfer Orders” in the warehouse transfers.
- After initiating a transfer, warehouse transfers go through the same process as a customer order when it comes to fulfillment: Allocation, picking, and shipping. For example, a transfer order must be shipped from Warehouse “A” before it can be received into Warehouse “B”. Details on this process can be found in the following article: https://help.allocadence.com/knowledge-base/order-fulfillment/
Editing Warehouse Transfer Orders
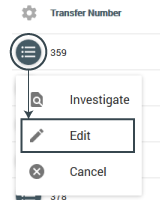
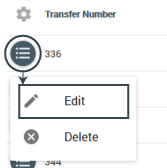
- Navigate to Inventory > Warehouse Transfers > Open Transfer Orders for the specific warehouse. Click the circle icon and select “Edit“.
- “Deliver To” warehouse
- “Required by” date
- Items (deleting, adding, change quantity)
- Carrier, service, and notes
- Select “Save and Re-Print” to complete and save changes.
Receiving a transfer order
- Note: Before receiving a Warehouse Transfer, it must have been marked as “Shipped” from the origin warehouse.
- Start in the Receiving section and select “Warehouse Transfer“.

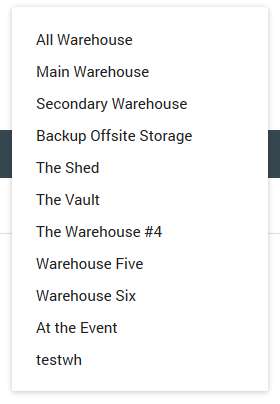
- Select the Warehouse the order was shipped to in the top right Warehouse drop down.
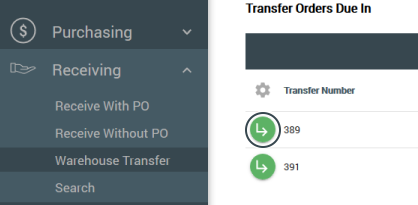
- Select icon for “Select this Item” to the left of the order to open Warehouse Transfer order.
- Add notes if needed and select receiving location in the Warehouse.
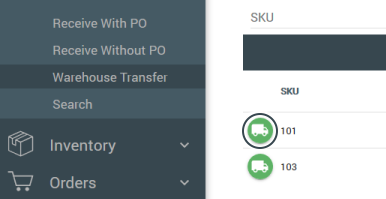
- Select “Click to receive this Item” icon to the left of the order.
- Enter in the quantity of items received and click
- Defaulted to item quantity placed on order.
- If quantity received is different from the quantity ordered, a pop-up will alert you.
- Review and select “Accept and Close”.
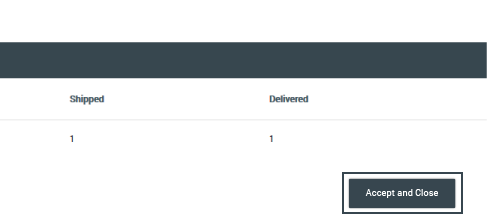
- Click “OK” to accept and close the order.
Requesting Stock from another Warehouse
- Select the Warehouse from the top right drop down menu that you want stock to be transferred to.
- In “Inventory” tab, select “Warehouse Transfer”.

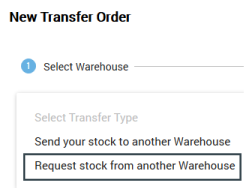
- Select “New Order” and choose the transfer type: ““Request Stock from Another Warehouse”.

- For the “Request From” field, select the warehouse and enter a “Required By” date. NOTE: Warehouse must have an address and be enabled for transfers in Allocadence. Click “Next” to move to item section.
- Enter Quantity and click the Save icon to the right of the item.
- Click “Next” to move to confirmation page.
- Review Transfer Order, selecting a carrier and service if needed along with any useful notes.
- Select “Request Transfer”.
Approving a transfer request
“Request From” transfer orders need to be approved by the requested warehouse.
- In the “Requested from” warehouse, navigate to “Inventory” tab and “Warehouse Transfers”.

- Select “My Drafts”.

- Select icon for “Select this Item” to the left of the transfer order request you wish to approve.
- From this step on, follow the standard process for a warehouse transfer (see Sending stock to another Warehouse).
- Once those steps are complete, use the standard receiving process at the receiving warehouse (see Receiving a transfer order).
