Creating a new purchase order
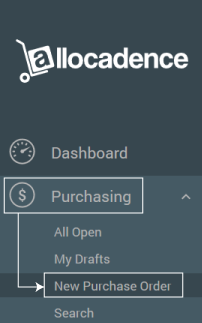
- Navigate to the “Purchasing” tab. (Both creation and alterations of Purchase Orders can be done here) and select “New Purchase Order“.
Required Fields:
-Ship To: Choose a warehouse to ship to.
-Required By: Choose a date (default is the day of creation).
-Supplier: Search for and select a Supplier.
-All other fields may be optionally used.
-Click “Next” to move to item selection.
- Select “Add New Item”
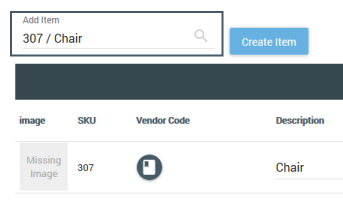
Search for and select an item:
-By SKU or Description. Searching will only require 3 characters to create a list of results to select from.
-Add price (if needed) and quantity.
-Save Item by clicking “Save” icon to the right of selected item.
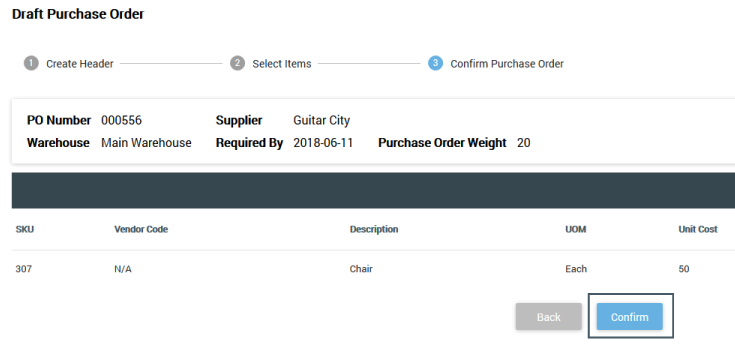
- Review your purchase order for accuracy and and click “Confirm” to finalize the purchase order. A printout will generate. NOTE:The new PO will appear in “Open Purchase Orders”, and the PO can now be Received (see article on Receiving).
Editing an existing Purchase Order
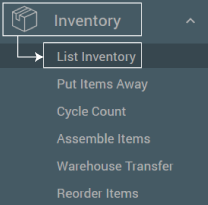
- Navigate to “Inventory” and select “List Inventory“.
- In the Purchasing Tab, select the “Blue Pencil” icon to the left of the PO number.
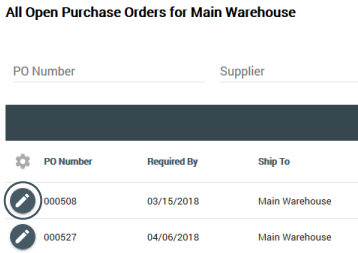
- All fields are editable, except for the PO Number.
- Individual line items can be deleted by clicking either the item search field or in the general area of the line item, then clicking the red “X” icon on the right.
- Re-confirm and finalize the order to save all changes.
Creating a Purchase Order Draft (for easy re-ordering)
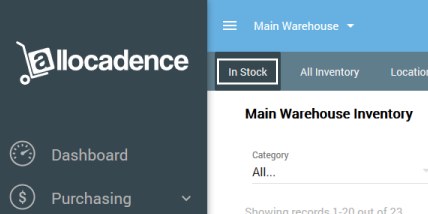
- Navigate to “Inventory” tab and select In Stock.
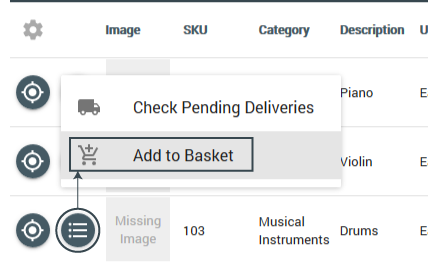
- Click the “Three Bar” icon to bring up submenu and then select “Add to Basket“.
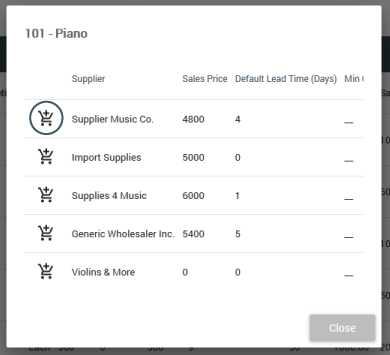
- Click the “Shopping Cart” with the plus sign icon to the left of the Supplier you wish to use.
Finalizing a Purchase Order Draft
- Navigate back to “Purchasing” tab and select “My Drafts”.
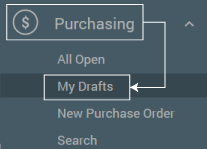
- Select the PO you would like to view by clicking the “Pencil“.
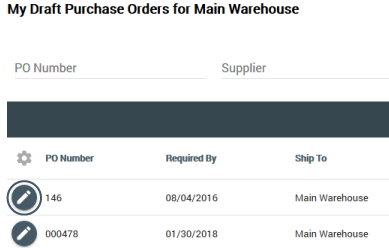
- Make sure all of the purchase order information is correct and click “Next” to move onto selecting any other items you need to add to the PO. If all information and items are correct click “Next” again to confirm. You will be prompted to finalize the PO. Select Yes if everything is correct. Finalized PO’s will show up in the “Open Purchase Orders” section.
Searching Purchase Orders
- In the Purchasing Tab, navigate to “Search”.
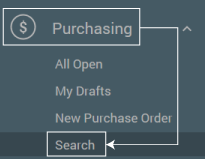
- Enter in as much detail as needed to narrow down results. After the purchase order you are looking for is found, you may review and edit the PO.

Completing Purchase Orders
Completing a PO can happen two ways: Receiving the PO into inventory (refer to article “Receiving Purchase Orders”), or you can manually complete the PO by selecting the “Mark As Complete” icon to the right of an open purchase order (NOTE: this second method does not auto-receive items to inventory).
